Tomb of Horrors – Update 1
Here is my update to the Tomb of Horrors game that we have started to play, along with some of the lessons learned from playing it. I had hoped to finish up the game for the Extra-Life campaign on Saturday, but that didn’t happen. Some players switched out, and we played as much as we could, and then went to a Renaissance Fair. The fair gave a good break to my tired brain, and was a cool tie-in with the game with foam sword fighting and and jousting. I had also planned to run a one-shot with new players on Halloween, so that is going to get merged with finishing out the Tomb. Plans change, and this should still be fun for Halloween. I was also planning on rewriting my draft Halloween adventure this week, but looks like that will be shelved for another night.
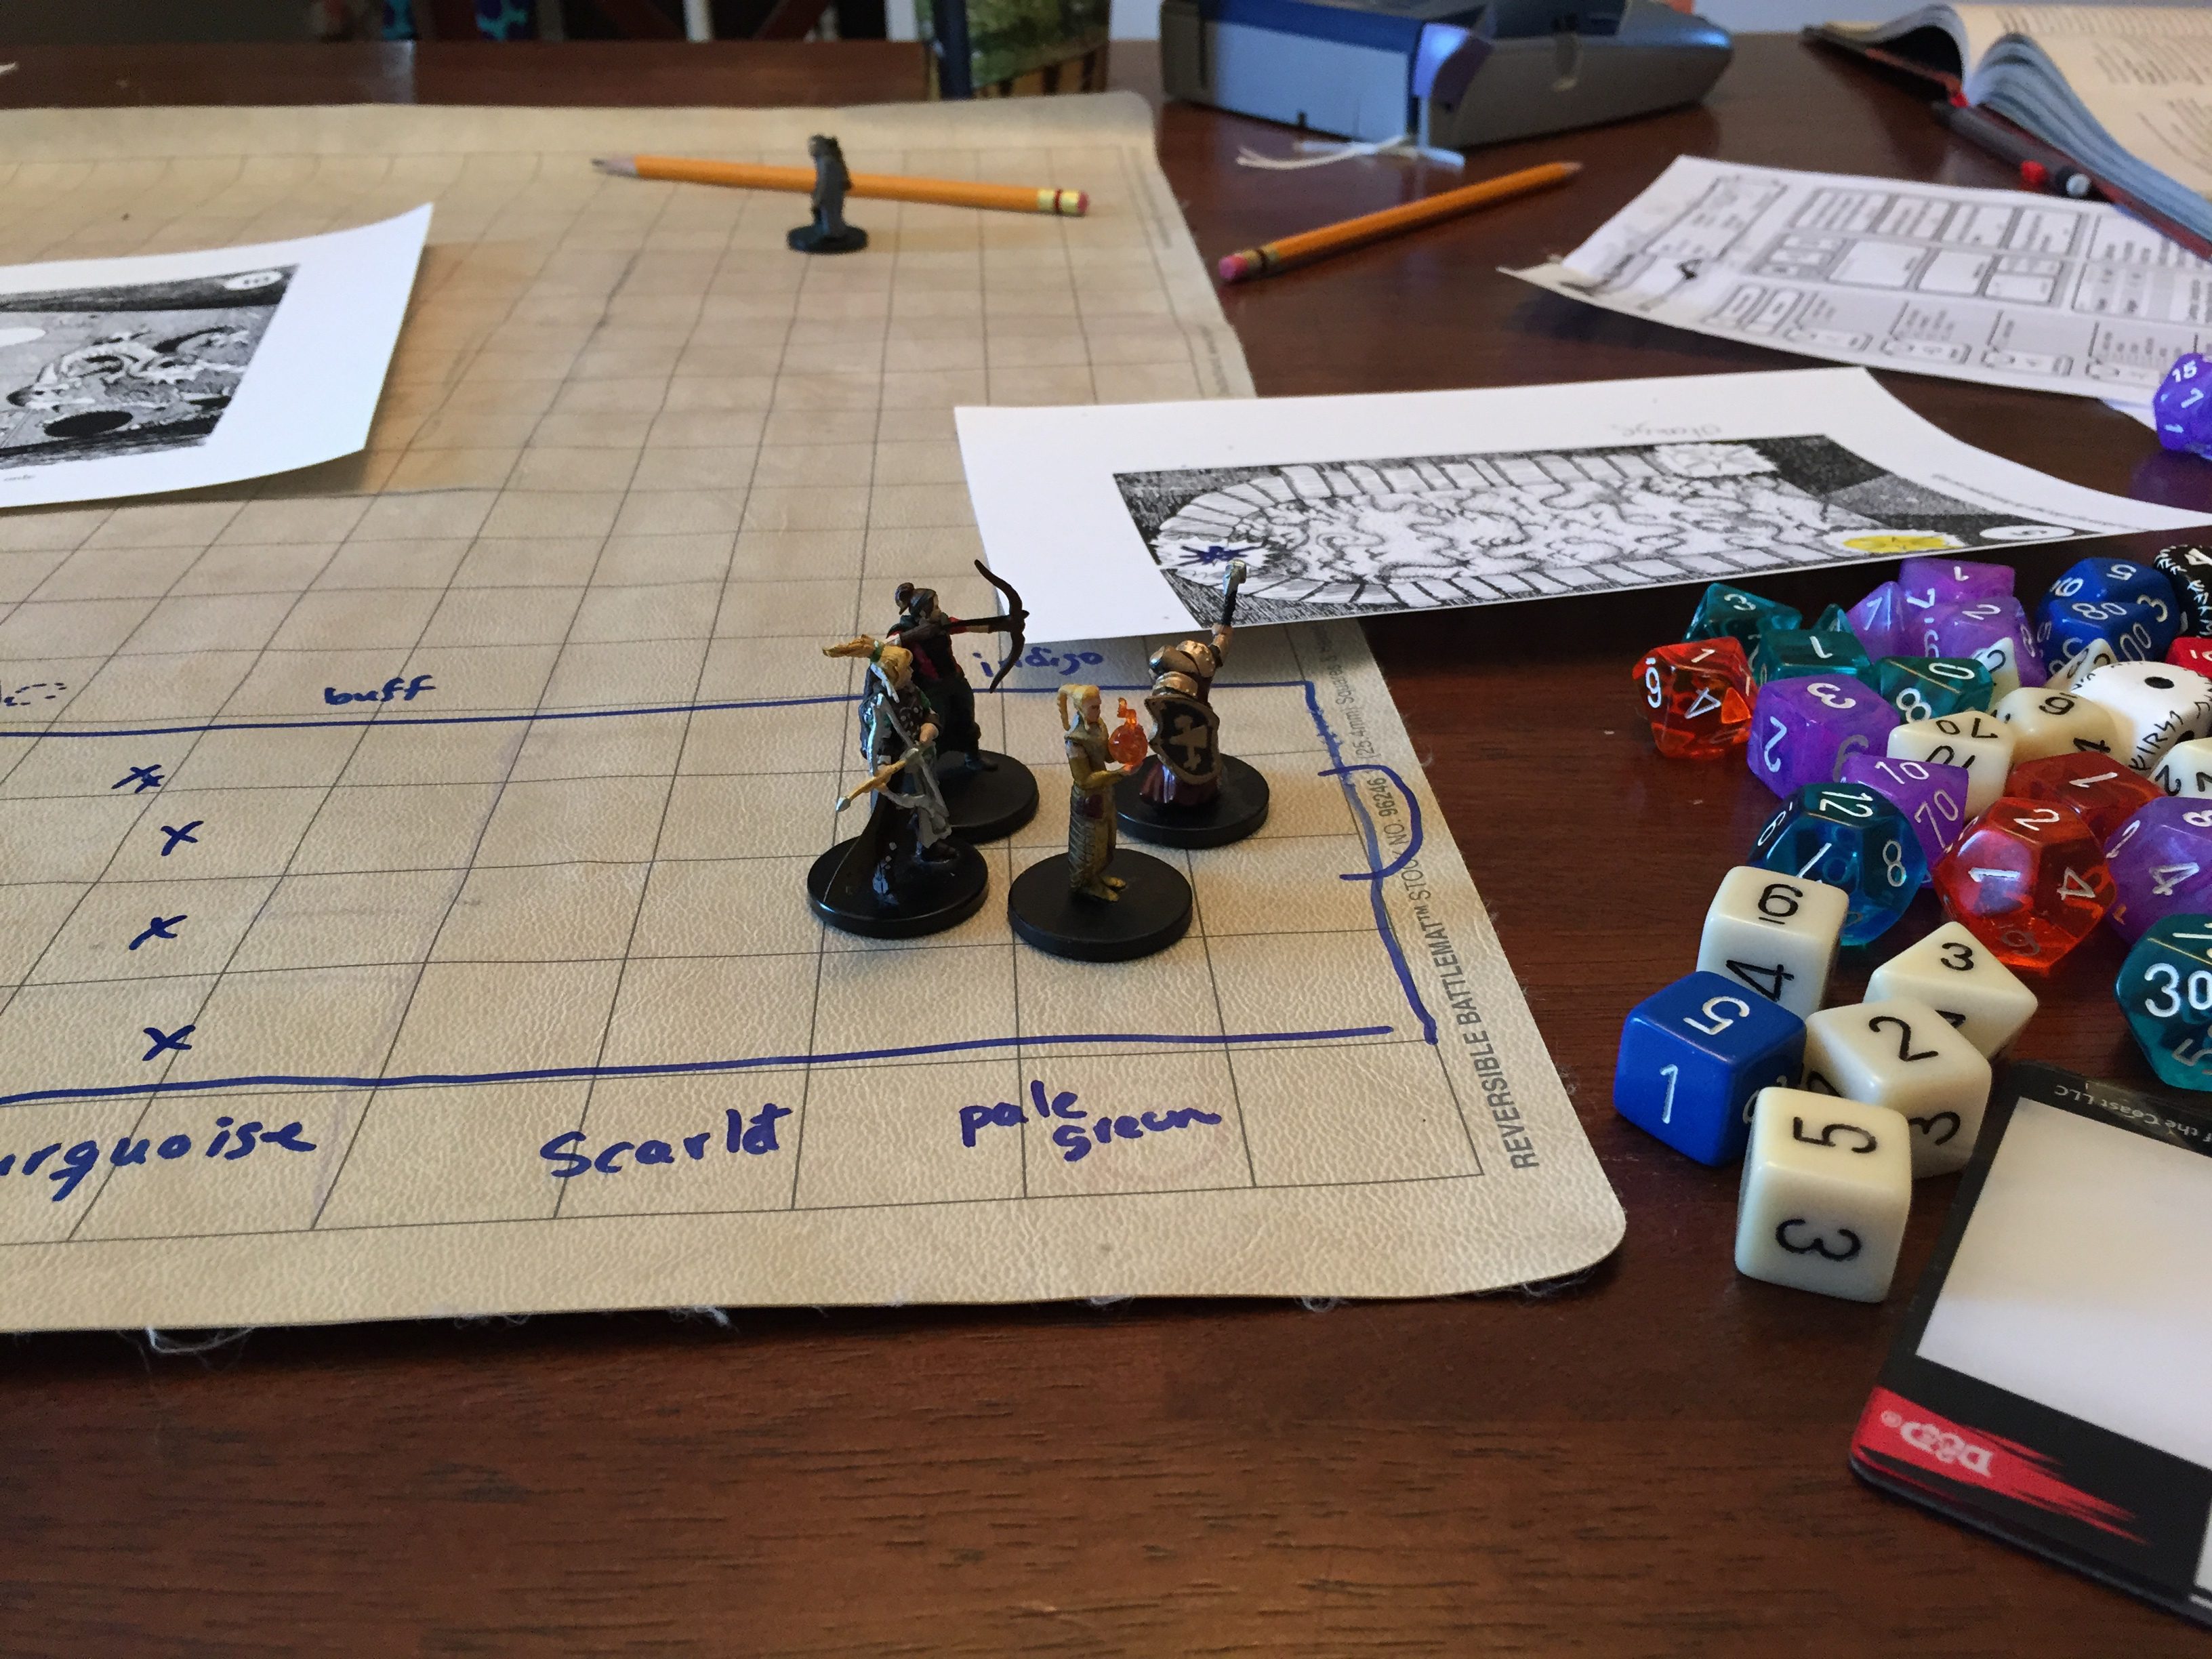
As I said before, We are using D&D 5th edition rules, and I mainly used the Dungeon Magazine 213 article by Chris Perkins, and the Original S1 Tomb of Horrors. The players used 10th level characters. I printed out the illustrations on card stock and cut the double ones in half. I wrote the illustration number on the back corner and turned them over. So I had a stack of half page and whole page illustrations. I had the Dungeon Article on PDF on my chrome book, the S1 Tomb of Horrors book I was using to cross reference anything that I might need to add. I used a 1″ grid mat as it was necessary for most of the puzzles in the dungeon. The Tomb of Horrors map is 1″ = 10′, so a lot of conversion had to go on in my head to not goof up the pit traps and the red tile pathway.
BTW, someone found a green dragon figure in the box, and I took a picture. Rawrrr! 😉

Part 1
The Tomb has 3 entrances, and the players went to the two false entrances before going into the middle entrance. I had told them that this game was deadly so to be extra careful. I also said to have additional characters ready in case there was a total party kill, or they needed a new one. This probably caused a few hours extra to be added throughout the first part of the game.
Start
The characters are brought together, and have been tasked with finding and investigating the Tomb that is believed to be under this hill after finding a tome with information about the tomb’s location. After quick introductions by everyone, I describe the scene and the hill. A crew of commoners have been tasked with helping them find and unearth the entrance, and a commoner named John is the first to find the entrance. It is quickly dug out, and waiting for the party to enter and investigate.
West Entrance (1)
One player tasks his wolf to walk in and inspect the door. It walks in and turns around and sits. Then the player walks in along with a second player. There is a DC15 vs wisdom to notice the false door, but they don’t make the DC. The first two were at the door and were overly cautious inspecting the door, as another member noticed the impeding doom that faced them. She yells out at them, so they slowly backed away. One player says John is stupid. I’ll have to keep using John then…
East Entrance (2)
John again yells out that another entrance is found. I describe the entrance and a door can be spotted at the end.
The Dungeon article doesn’t explain this trap as well as it probably should. But that is because I am a big dummy, and realized my mistake after actually running the game. Here is how it should go: The Stone block moves and will close after a single round. So it moves throughout the initiative count, and moves 5 feet at 20, 15, 10 & 5. Basically shutting at initiative count 5. The characters will roll initiative. And on a tie with the block, the block goes first. So if someone rolls a 5 or less on the initiative count, they are trapped or squished. That means that they didn’t react quick enough. If they spend their action to open the false door, then they are trapped because they use up their action. 😉
The same two players that went to the West Entrance go down the hallway and walked up to the door, and activate the trap, but then quickly ran out. This was after some debate as to whether to get the whole party to come in with them, or they should run out. So the end result is that no one was trapped.
I found this interesting because they almost all ran into the hallway to be trapped with a fake door. But instead they exit, and mumble about how John should be fired.
Middle Entrance (3)
Another entrance is found. Hurrah!
They were a little weirded out by this time, so the party was overly cautious when I described the tunnel and the red mosaic tiles on the ground. I gave them the illustration for the entrance. [Remember that the first pit trap doesn’t self activate and is activated by pulling down the lever in the Wizardly Workroom Fresco #4.]
They start to follow the tiles, and the first covered pit trap was found, but the player avoided falling in by a well rolled Dexterity saving throw. These have a DC 12 to avoid falling in, but I changed them to 15. The pit traps are covered with doors that swing down, and then back up when a creature activates them and falls into the pit. Not only are they taking falling, piercing and poison damage, but they get trapped at the bottom because the top closes. That didn’t happen, but I was prepared to run that part.
#3A – Prison of the Tormentor – This was not noticed even though it can bee seen on illustration number 3. It would be spotted later on though after a wardrobe change. Haha
#3B – Accerrerak’s Message – Remember that the tiles have faint runes, and require a DC 15 wisdom check to see them. If noticed, they will see a message. I used passive perception to notice, and then gave one of the players the entire message at the end…
Wizardly Wookroom Fresco (4)
After almost falling in the the covered pit trap, they then turn their attention to the fresco #4. This really should be renumbered #3A or even make it #3C and is part of #3. It comes before #3A and #3B, but oh well that’s just my OCD kicking in.
So up to this point the progress has been slow, but at least they did take notice of the Wizardly Wookroom fresco and the chest after almost falling into the 1st covered pit. They look at the chest, but didn’t use their hands to open, so they didn’t get poisoned. The bottom opens up and the lever is found. They are able to activate the lever, and open the pit trap. Surprisingly, no one falls into the pit.
Also, remember that this is the one trap in this hallway that will remain open after activating, so it won’t be as hard to climb out.
The rest of the hallway was a just a series of trap checks with very large rock being thrown on the ground. They slowly continue down the hallway. As I said before they do this bypassing the painting of the prison of the tormentor #3A which hides the hallway and entrance to room #8. They continue and end up at the end of the hallway with the Green Devil and Arch of Mist.
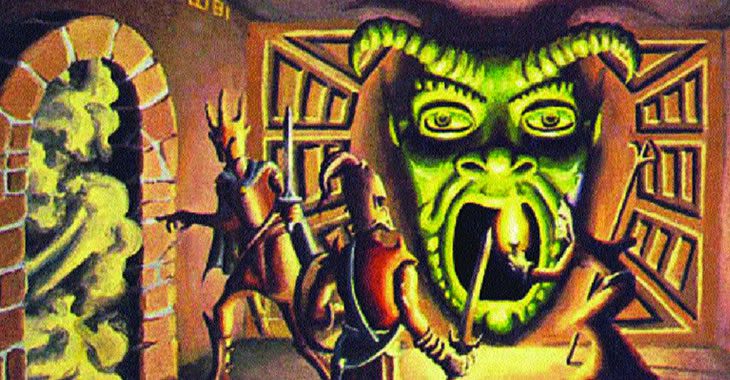
Face of the Great Green Devil (6)
One player started to look at it and said I want to crawl into it. I asked how, show me. He said feet first,and proceeded to show me, and lifts a leg up to the wall.
“Okay. Your foot disappears and you feel weak.” “I pull out my foot.”
“It’s gone, and reduce your Max HP by 27.” “But…”
Hop Hop Hop… Too bad he didn’t go in head first. 😉
Arch of Mist (5)
So they turn their attention to the misty archway, and I describe it. The player with one foot says I press all the stones, and started making pressing motions with his hands. I asked in what order, and he tells me the correct sequence the first time. The mist clears and everyone started to laugh.
He jumps into the room, and disappears. And he then asks what he sees. I say it’s not your turn yet. I ask what everyone else does, and then they step into the room one at a time… BAMF!!! Follow the leader!
Part 2
Three Armed Statue (11)
So all the party is teleported from the Arch of Mist Room # 5 to the room with the 3 armed statue. After a quick description, and looking around, they proceed to hack off its head. I’m not sure if it will work anymore… hmmm They find a crawl way and end up in the Great hall of Spheres. I hear from one of the players that they are ready to fight something.
Great Hall of Spheres (10)
So they arrive at the great hall. They came out of a sphere from Room # 11, and so they start checking all the spheres… They find the two spheres leading to Room 13 & 14. But don’t go into them, testing them with objects and pinky fingers…
Magic Archway (10A)
They inspect the archaway and the mist. They see the three stones, and begin trying every sequence imaginable with the three glowing stones. Boop Boop Boop. Nothing. One player jumps into the mist, I ask them to place their miniature on the other side of the gate if they decide to go through. Everyone does it, so Poof! Go back to Room #3. But a little lighter. 😉
Part 3
Middle Entrance (3)
Okay, they’re not dead but they have no clothes, armor or weapons… they is naked. I hear lots of giggling. I let them know where they are, and show them illustration #3 again, and one of the players shouts HEY! what’s that? Pointing at the Prison of the Tormentor. They proceed to inspect, and then find the hidden door. They open the door, and then go through and down the hallway to find room #8.
Gargoyle Lair (8)
So they walk in, I show them illustration #8, and the Gargoyle attacks the first one it sees and gets surprise. But with 5 level 10 characters and no weapons, I thought it was going to be a big massacre. But the party takes out the gargoyle easily. Wow.
They appear a little distraught about their missing stuff, so I make it easy on them, and have it laying in this room for them. I know… I know… I’m a big softie, and they were just going to go back in town and get some more stuff. And I didn’t really want to go through that naked nightmare walking into town with everyone pointing at them. So I give them one mulligan. I let them know it too. They remove the 10 gems from the collar of the gargoyle, and find the secret note. Someone comments, this would have been easier if we had our stuff to begin with and done this the first time we went through here. Haha… 😉
Complex of Secret Doors (9)
They churn through these secret doors and start heading back to Room 10. But first they are getting hit by bolts and taking damage along the way. Not very exciting, but fun to watch them physically describe how they are pulling pushing lifting and tugging on secret doors. I hear my first comment that this is a lot better than just a bunch of combat. Last small room and the wall falls on one player. Then they all exit the room and back to The Great Hall of Spheres… Hey, we’ve been here before!
Great Hall of Spheres (10)
They come back here and proceed to go back to the gargoyle statue in Room #11
Three Armed Statue (11)
They proceed to give it all 10 gems that they found on the gargoyle in Room#8. I decide the magic mouth on the statue still works, and the statue’s head gives them the message. But then they walk away, and don’t pick up the treasure… awwwwww…. Well, it is invisible treasure after all.
Great Hall of Spheres (10)
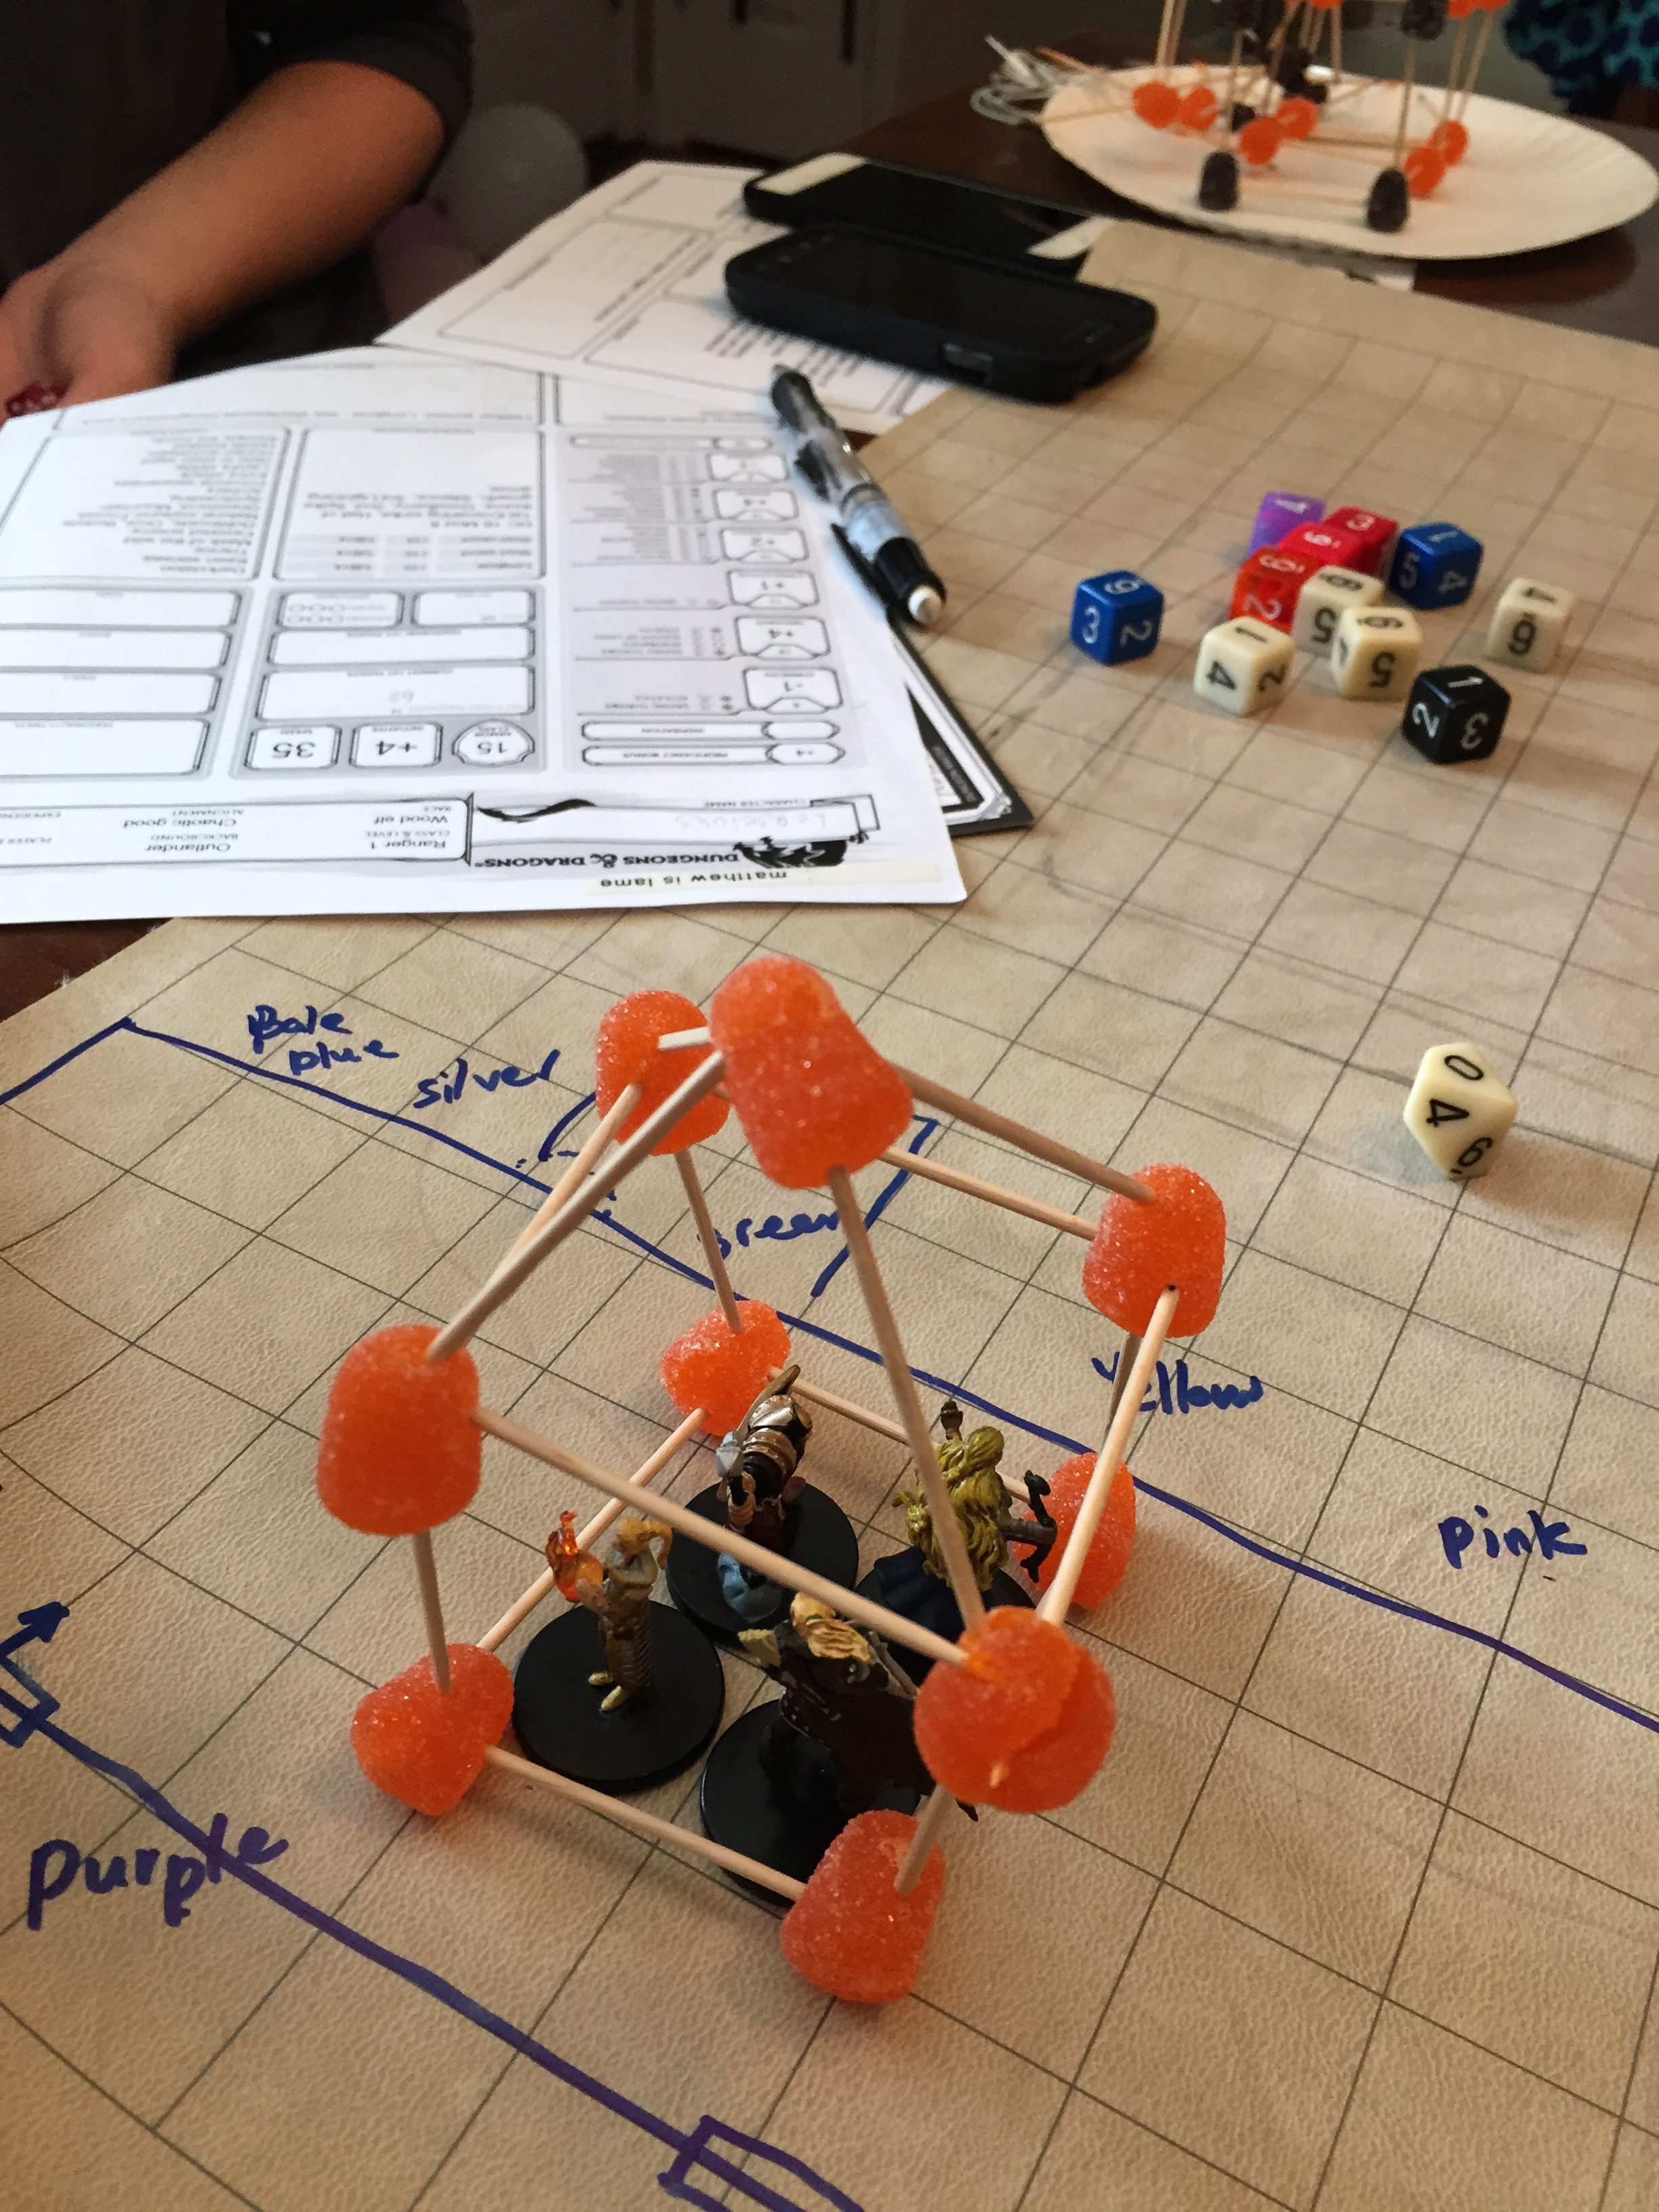
After that, one of the party character’s open each of the Trapped False Doors (12) and gets hit by a spear each time. After a bunch of spears hit the same guy, I think 4 more times, they choose to go into one of the other illusionary sphere entrances. They decide upon going into Room #13, but only after playing at the table with their toothpick trap someone made and some miniatures….
Chamber of Chests (13)
One person falls the 10 feet and takes d6 damage. Meh…
I show them the illustration with the chests, and they pick in them in this order, combat with a skeleton, combat with swarm of snakes, and a trapped ring. They kill everything and take some damage, and get a little treasure and the combat is over very quickly. They take the ring, but leave the box and don’t set off the trap. Hmmm…
Basically in this room they take some more damage, and get a magic ring… Not exciting. They do find the crawlway that leads to pit in hallway #3 & the 100 foot shaft to #7. They don’t investigate that much, and exit back into the great hall of spheres #10 to go to the winding long crawl-way that leads to room #14.
Chapel of Evil (14)
They arrive in the Chapel and start poking about. They find the hole in the wall, the skeleton pointing to the mist, and the blue altar. But have found none of the treasure so far.
One player touches the Opalsecent Blue altar #14A, and takes 40 lightning damage. Says that’s nothing, and then spits on it. I decide that counts as a an object, and it explodes… BOOM!!!
The explosion requires a dexterity saving throw. And it’s going to be dealing 30 slashing and 30 fire damage on a failed save. The same player that touched the alter fails the save, and the others take half damage. He goes to 0 HP, and is later stabilized after a successful death save. Ouch!
They decide to take a rest here and I decide that’s a good stopping point.
 “
“To be Continued…
I was surprised by how fast the dungeon can be played even though we had a lot of breaks… I will write up an update with the next part as we finish up the Tomb of Horrors. I could make some predictions, but I imagine some of the players may be reading this looking for hints.
This is a fun adventure to run, and using a 1″ grid is probably essential to get through all the puzzles. You will need to erase your previous sketches though because you can give away something with having pre-drawn dungeon maps. So don’t use those. Trying to just hide parts of the dungeon will give away too much. So a quick wet-wipe of the wet erase markers and start fresh. It is necessary when Room #5 is entered and teleports them to Room #11 gives them a sense of being trapped and bewildered. Plus they can always draw their own maps. Maybe promote it by handing out graph paper.
All the old school adventures can easily be run in 5th edition. If you have trouble, maybe I can help.
Have Fun!
-Michael
twitter: @mrlong78
facebook DnD5e group: https://www.facebook.com/groups/DnD5th/
facebook: https://www.facebook.com/TribalityRPG